Introduction
Walking into a cluttered garage can feel overwhelming. You have the ambition, but where do you even begin? The good news is that building a functional, inspiring garage workshop doesn’t require a second mortgage. With a budget of $500 and a clear plan, you can create a workspace that will serve you well for years to come.
This guide is your roadmap to a smart, cost-effective setup. We’ll focus on buying or building the essentials, prioritizing safety, and choosing tools that offer the most value, so you can start making projects right away.
The Foundation: Your Workbench
Build vs. Buy
The workbench is the heart of your workshop—your primary surface for assembly, repair, and creativity. It needs to be rock-solid. For a sub-$500 budget, building your own bench is often the best route. A simple, sturdy design using 2×4 lumber and a ¾-inch plywood top can be built in a day for under $100. This frees up the rest of your budget for tools and lighting.
If you prefer to buy, steel-frame benches start around $150-$250. Look for a height that is comfortable for you; 34 to 42 inches is typical, with 38 inches being a good standard to start with.
The “Clear Top” Rule
Whichever route you choose, commit to a single, crucial habit: keep the surface clear. A cluttered bench is a recipe for frustration and lost parts. The bench is for working on, not for storing on.

Lighting: See What You’re Doing
Proper lighting transforms a gloomy garage into a capable workshop. Your goal should be about 130 to 150 lumens per square foot of workspace. Good lighting reduces eye strain and dramatically improves safety, especially when using power tools.
| Feature | Recommendation | Estimated Cost |
|---|---|---|
| Ambient Lighting | A two-bulb, 48-inch LED shop light fixture is a classic, low-cost solution. | Under $50 |
| Task Lighting | An LED work light with a magnetic base or a flexible gooseneck is invaluable for detailed work. | $20 – $50 |
Pro Tip: Forget about watts and think about lumens. A 40-watt fluorescent bulb puts out about 2,200 lumens. Compare the lumen output on the packaging when choosing bulbs.
Essential Tools: Prioritizing for Impact
With a limited budget, you must be strategic. Instead of buying a cheap “everything” set, invest in a quality core kit that will handle most jobs. For general DIY and basic auto repair, focus on these essentials:
The Starter Kit (Approx. $250-$300)
- Mechanic’s Tool Set (200+ Pieces): This is your best investment. A comprehensive set with ¼-inch, 3/8-inch, and ½-inch drive ratchets, along with both SAE and metric sockets and combination wrenches, will cover the vast majority of tasks. Look for reputable brands like Crescent, Gearwrench, Husky, or Kobalt that offer lifetime warranties.
- Screwdrivers and Pliers: A set of good Phillips and flathead screwdrivers, along with a pair of needle-nose pliers and slip-joint pliers, is non-negotiable.
- Measuring and Marking: A 25-foot tape measure, a speed square, and a level are essential for accurate work.
Power Tools (On a Budget)
- Drill/Driver Combo: A cordless drill is perhaps the most versatile power tool you can own. A solid 18V kit from Ryobi or a similar brand is a great starting point.
- Circular Saw: For breaking down plywood and making straight cuts, a 7-¼ inch circular saw is invaluable. A corded model is often more powerful and less expensive for a beginner.
The “Don’t Forget” List
- Safety Gear: Safety glasses and work gloves are mandatory. If you’ll be doing any sanding or cutting, a dust mask or respirator is equally important.
- Clamps: You can never have too many clamps. A set of four 24-inch bar clamps is essential for glue-ups and holding materials in place.
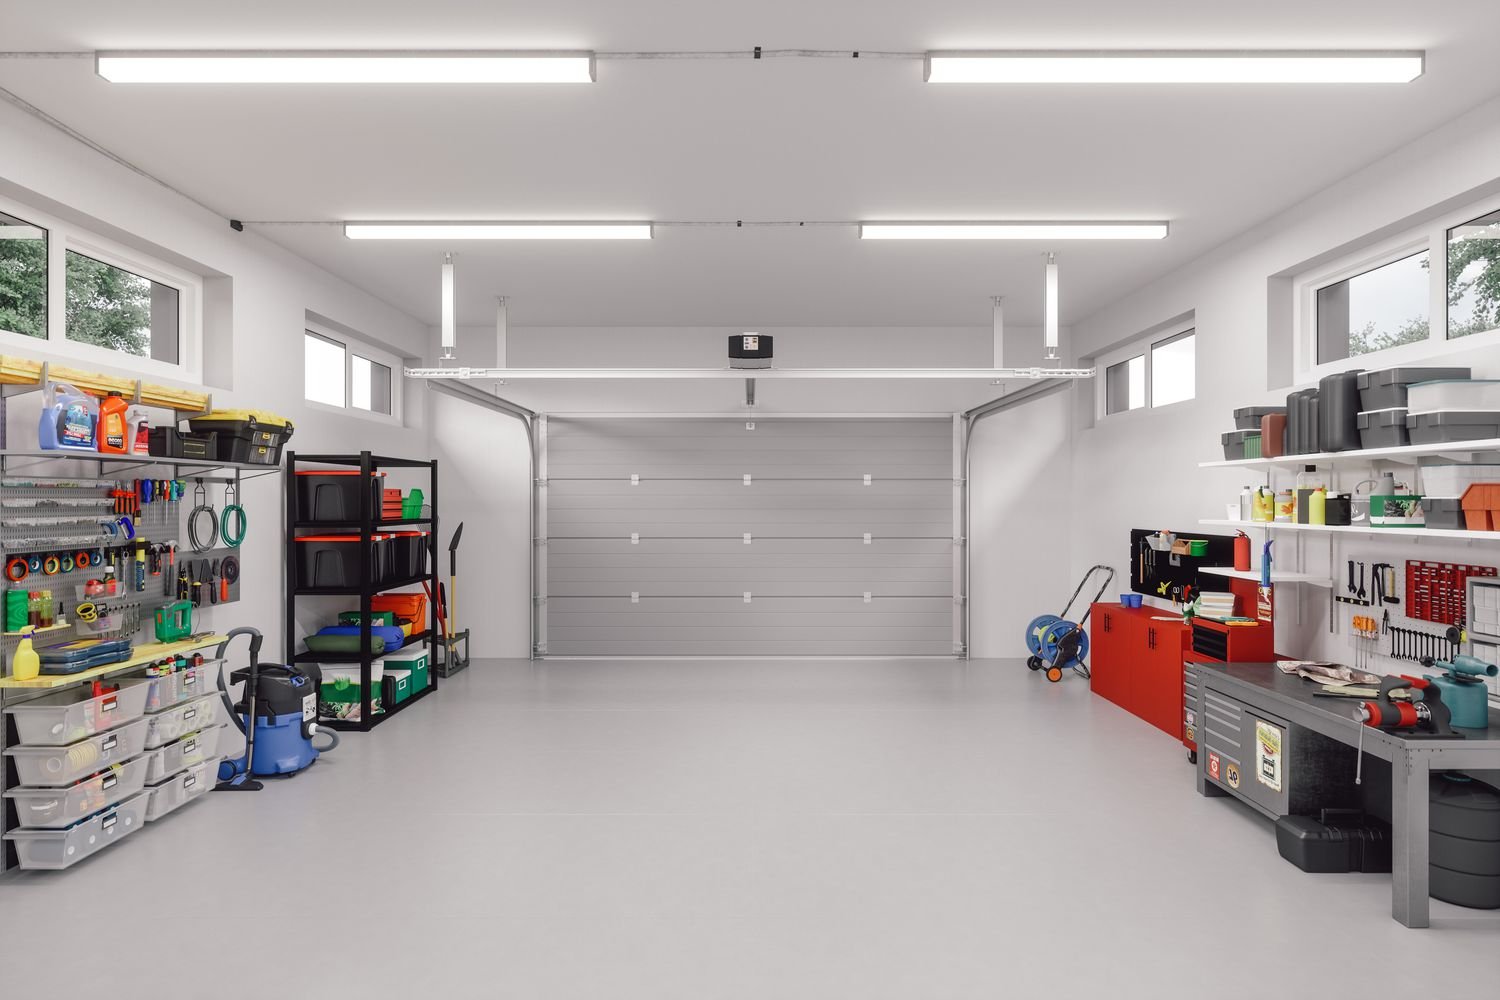
Smart Storage: Keeping Your Sanity
Good organization is what separates a workshop from a “pile of tools”. Inefficient storage leads to wasted time and frustration.
The Pegboard Power Move
A pegboard wall panel above your workbench is a classic, inexpensive way to store tools. It keeps everything visible and within arm’s reach, freeing up valuable drawer space. A 4×8-foot pegboard costs about $20.
Think Vertical
Use wall space to your advantage. Install sturdy shelves above the workbench or along an empty wall to store bulkier items, bins, and chemicals safely out of the way of children and pets.
Repurpose and Save
Don’t overlook the potential of old kitchen cabinets. They can be found at salvage stores for 50-75% less than new ones and make excellent, durable storage. You can even top a run of base cabinets with plywood to create a custom workbench for a fraction of the cost.
The $500 Budget Blueprint
Here is a practical way to allocate your funds.
- Workbench: Build your own (Budget: ~$80 – $100)
- Lighting: 2 LED Shop Lights + 1 Task Light (Budget: ~$70 – $100)
- Tool Kit: 200-Piece Mechanic’s Set + Screwdrivers/Pliers (Budget: ~$200 – $250)
- Power Tool: Cordless Drill/Driver Kit (Budget: ~$100)
- Storage & Safety: Pegboard, Clamps, Safety Glasses, Gloves (Budget: ~$80)
Total Estimated Cost: ~$530 – $630
This is a guideline, not a strict rule. You might find a better deal on a tool kit, allowing you to invest more in the drill, or vice versa. The key is to start with this solid foundation and add specialized tools as your skills and budget grow.
Final Thoughts: Start Simple, Build Smart
Setting up your first garage workshop is a rewarding project in itself. By focusing on a sturdy workbench, good lighting, and a quality core set of tools, you are laying the groundwork for years of successful projects. Remember, the goal is a functional space, not a showroom. Start simple, prioritize your core tools and safety, and let your workshop grow along with your skills. Happy building